
Rooster BooBoo Bag Buddies are fun to use and pretty easy to make! We thought we would share a simple How-To, in case you thought you’d like to try one yourself.
Here’s what you need:
- 2 charm squares (5″ x 5″ squares) or 10″ x 5″ piece of cotton fabric
- Felt (any color that matches or that you choose)
- Rice
- Sewing machine
- Needle and thread
Step 1: Grab a scrap piece of paper and trace you out a template for the beak, comb, and wattle. Cut these out. Don’t worry about how exact the shapes are, because these little rooster buddies are your creation and can be made any way you like. See image below for the templates we drew for ours.
Once you have your templates, go ahead and cut out your felt out.

For this tutorial, we used a 10″ x 5″ piece of polka dotted cotton fabric. If you choose the rectangle option, be sure your fabric 100% cotton so that it does not melt or react in any way when put in microwave.
If you choose the charm squares, sew them together to make a rectangle.
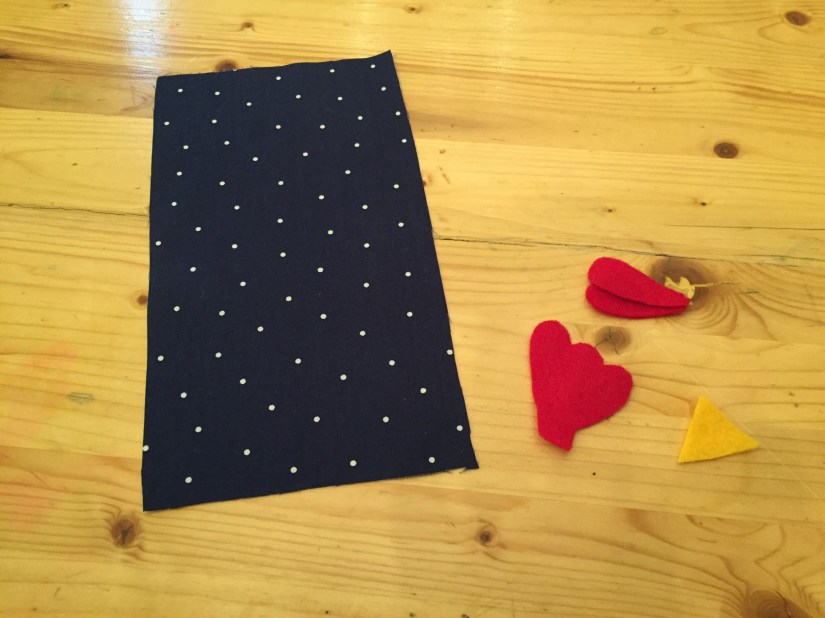
Step 2: Lay out the pattern pieces in the upper right corner of the long rectangle of fabric. Be sure to place the beak in between the wattle pieces.


Step 3: Bring the bottom of the fabric to the top with the fold along the bottom.
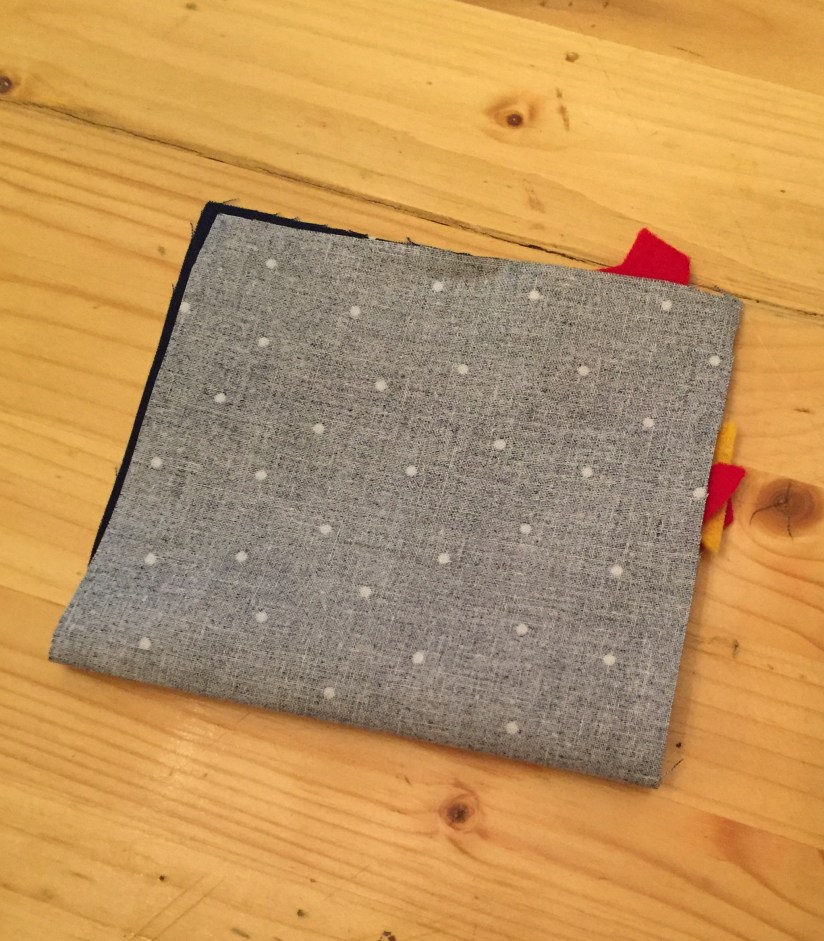
Step 4: Keep beak and details in place. Stitch the top and right sides of the rooster. Leave the left side open for now.

Step 5: Turn right side out. Make sure to poke your corners out.

Step 6: Fill 2/3 of the rooster with rice.
Step 7: Turn your rooster into a pyramid shape by lining up your seams so that the side seam lies flat as the back of the chicken. This was too difficult to hold the rooster and photograph. So let me try to explain further…
You want to close the open part of your rooster by matching the top seam – the seam with the comb – with the fold of your body fabric. This gives you the pyramid look of the rooster. Be sure to tuck in your seams and finger press your seam. You can either carefully hold and hand stitch this seam shut, or you can pin/clip shut until you are ready to hand stitch shut.

You can put a french knot, button, or bead for an eye. Here we used a french knot and then pinned a tag on the little guy.


Here are are all three roosters that assisted with this tutorial 🙂


Hope you enjoyed this! Have a wonderful day!
– The Girls 🙂 🙂

What a fun Project! Tutorial is easy to follow, love having lots of pictures too. This would be fun to do with Kid’s…or even a Beginners sewing class. Thanks for sharing..will definitely be making a few of these cute lil’ guys! (Would be great gifts too..’specially for those with lil’ Kiddo’s..for boo-boo’s)
LikeLike